参考文章:
http://wenku.baidu.com/view/94e08a20a5e9856a561260e2.html
http://httpd.apache.org/docs/2.4/install.html
工作中需要在MIPS平台的板子上移植apache,折腾一个星期,初步搞定,移植过程记录如下:
开发机软硬件平台:

开发板软硬件平台:

移植的宏观思路是:
1. 开发机端
1)配置:./configure
2)交叉编译:make
3)安装:make install
2. 开发板端
1)下载apache安装目录到板子的/usr/local下
2)配置httpd.conf
3)验证
详细移植过程如下:
1. 开发机端
1.1配置:./configure
首先指定安装目录(prefix),编译器(CC),平台名(host),库的路径(--with-included-apr)
./configure --prefix=/usr/local/apache CC=mips64-octeon-linux-gnu-gcc --host=mips-linux --with-included-apr

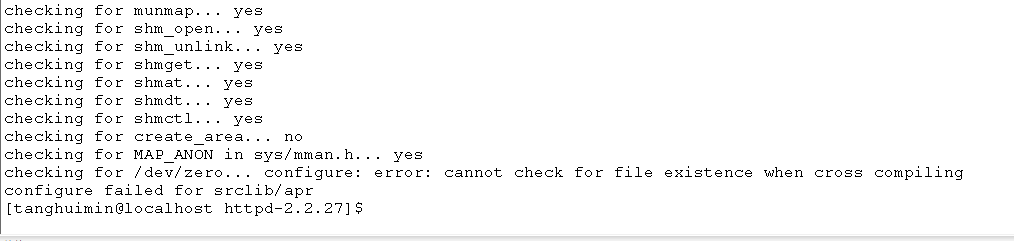
提示错误:checking for /dev/zero... configure: error: cannot check for file existence when cross compiling
添加配置选项:ac_cv_file__dev_zero=yes
继续
./configure --prefix=/usr/local/apache CC=mips64-octeon-linux-gnu-gcc --host=mips-linux --with-included-apr ac_cv_file__dev_zero=yes

提示错误:checking whether setpgrp takes no argument... configure: error: cannot check setpgrp when cross compiling
添加配置选项:ac_cv_func_setpgrp_void=yes
继续
./configure --prefix=/usr/local/apache CC=mips64-octeon-linux-gnu-gcc --host=mips-linux --with-included-apr ac_cv_file__dev_zero=yes ac_cv_func_setpgrp_void=yes

错误提示:configure: error: cannot run test program while cross compiling
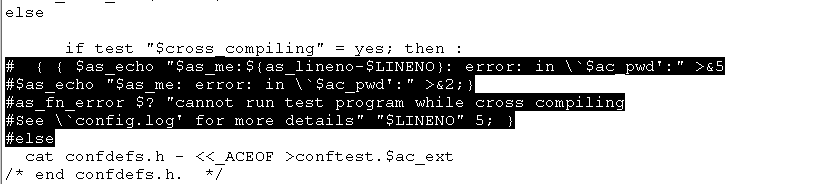
进入./srclib/apr目录,修改configure文件,搜索cannot run test program while cross compiling
一共三处,将下图中阴影部分注释掉
继续
./configure --prefix=/usr/local/apache CC=mips64-octeon-linux-gnu-gcc --host=mips-linux --with-included-apr ac_cv_file__dev_zero=yes ac_cv_func_setpgrp_void=yes
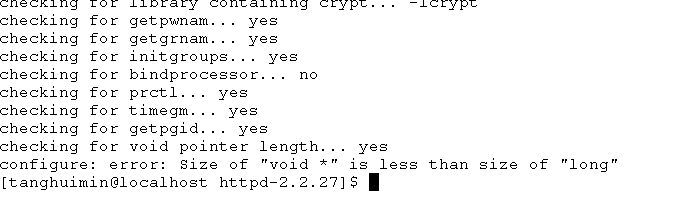
错误提示:configure: error: Size of "void *" is less than size of "long"
添加配置参数:ap_cv_void_ptr_lt_long=no
继续
./configure --prefix=/usr/local/apache CC=mips64-octeon-linux-gnu-gcc --host=mips-linux --with-included-apr ac_cv_file__dev_zero=yes ac_cv_func_setpgrp_void=yes ap_cv_void_ptr_lt_long=no
配置通过
1.2 交叉编译:make
执行make命令
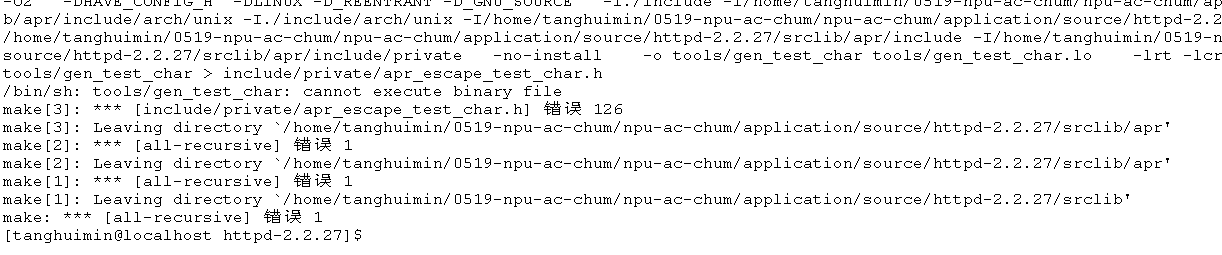
错误提示:/bin/sh: tools/gen_test_char: cannot execute binary file
进入./srclib/apr/tools/

MIPS平台的可执行文件当然不能在X86平台运行,手动生成x86平台的可执行文件,执行
gcc -Wall -O2 -DCROSS_COMPILE gen_test_char.c -s -o gen_test_char
./gen_test_char > ./include/private/apr_escape_test_char.h

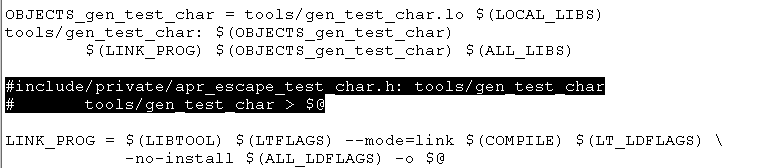
修改./srclib/apr/下的Makefile文件,注释掉图示两行
返回继续make
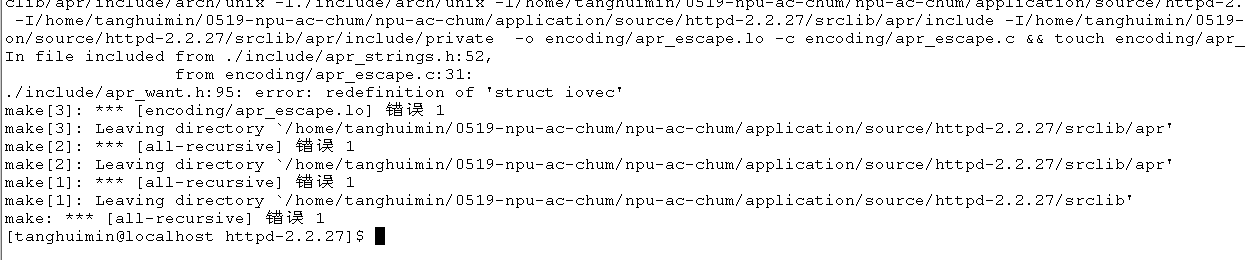
错误提示:./include/apr_want.h:95: error: redefinition of 'struct iovec'
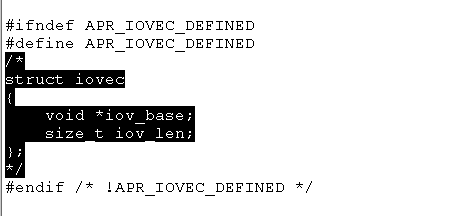
修改./srclib/apr/include/apr_want.h,注释掉struct iovec的定义
返回继续make

错误提示:./dftables: ./dftables: cannot execute binary file
进入./srclib/pcre/
执行
gcc -Wall -O2 -DCROSS_COMPILE dftables.c -s -o dftables

返回继续make

错误提示:/bin/sh: ./gen_test_char: cannot execute binary file
进入./server
执行
gcc -Wall -O2 -DCROSS_COMPILE gen_test_char.c -s -o gen_test_char

返回继续make
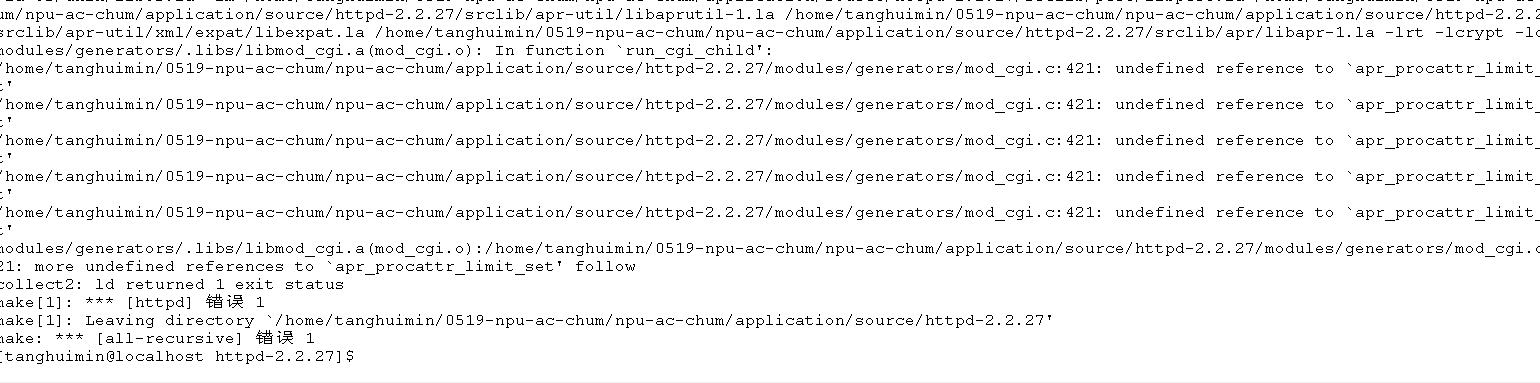
错误提示:undefined reference to `apr_procattr_limit_set'
好吧,这个错误网上查了半天,发现是./configure的时候少了一个配置项,从头再来吧
make clean
终极配置命令:
./configure --prefix=/usr/local/apache CC=mips64-octeon-linux-gnu-gcc --host=mips-linux --with-included-apr ac_cv_file__dev_zero=yes ac_cv_func_setpgrp_void=yes ap_cv_void_ptr_lt_long=no ac_cv_struct_rlimit=yes
make
编译通过
1.3 安装:make install
理论上接下来的动作应该是:make install
但是在make install之前,我要临时改一下安装路径(下面的路径不固定,可根据自己的需要修改):
export DESTDIR=$NPU_APP_DIR/portable/cavium/execute/local/apache_tmp
然后再
make install
下面讲一下原因:
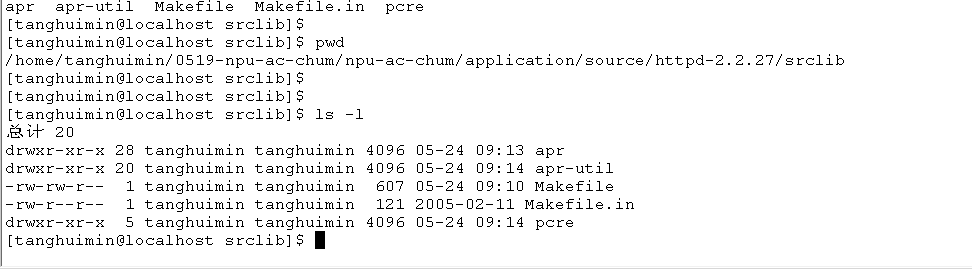
apache依赖三个库,apr, apr-util, pcre,在httpd-2.2.27版本中,这三个库的源码均与apache源码绑定在一起,在srclib目录下,编译apache的时候,这三个库也一起被编译了
上面./configure时,我之所以要把安装目录指定为/usr/local/apache,是因为我打算把apache的安装目录放在板子的/usr/local/apache下,运行/usr/local/apache/bin/httpd时,程序会自动在/usr/local/apache下搜寻依赖的库文件。
要生成安装目录就必须make install,make install是将源码目录下的相应文件拷贝到安装目录下,./configure时我指定的安装路径为/usr/local,但是我在开发机上并没有root权限,无法写/usr/local目录,只能写我的home目录(/home/tanghuimin),怎样临时修改make install的安装路径呢?
查看Makefile文件,搜索关键字“install”,发现安装文件都是放在基于$DESTDIR的路径下的,那修改$DESTDIR就能修改安装路径了,终端下执行
export DESTDIR=$NPU_APP_DIR/portable/cavium/execute/local/apache_tmp
再
make install
$NPU_APP_DIR/portable/cavium/execute/local/apache_tmp/usr/local/apache下便是自动生成的apache安装目录了
2 开发板端
2.1 下载apache安装目录到板子的/usr/local下
将$NPU_APP_DIR/portable/cavium/execute/local/apache_tmp/usr/local/下的apache目录打个包,ftp或其他方式,下载到板子的/usr/local/下,解压,进入/usr/local/apache目录
2.2 配置httpd.conf
接下来修改相关配置文件:
apache无法以root用户运行,修改/etc/passwd和/etc/group文件,新增nobody用户名和nobody工作组名。
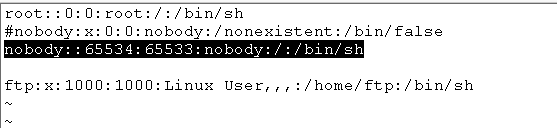
在/etc/passwd中添加一行:
nobody::65534:65533:nobody:/:/bin/sh
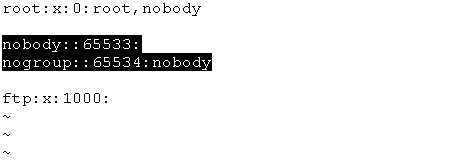
在/etc/group中添加:
nobody::65533:
nogroup::65534:nobody
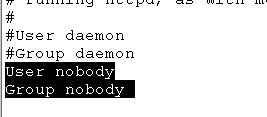
修改/usr/local/apache/conf/httpd.conf文件
1)修改用户名和用户组名为nobody
2)修改ServerName为板子的ip地址,我的为192.168.15.29

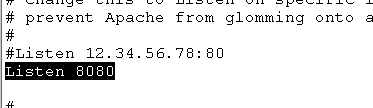
3)修改监听端口,我的为8080
2.3 验证
在浏览器窗口输入网址:http://192.168.15.29:8080/
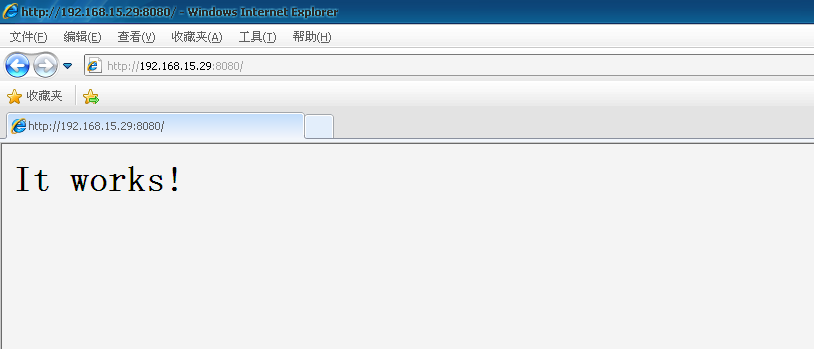
成功!
后记:曾经试过http 2.4.9的移植,但因为在2.4.9版本中,三个库(apr,apr-util, pcre)的源码没有包含在http源码中,需要外部安装,而我又没有开发机的root权限,导致移植过程中有些动作没有办法完成,故转向低版本的http 2.2.7,http 2.2.7源码中包含了三个库文件的源码,无需外部安装库文件。
附件:
MIPS平台移植apache_2_2_7.zip
草稿_MIPS平台移植apache_2_4_9.zip
本文由 cswxzx 创作,采用 知识共享署名4.0 国际许可协议进行许可
本站文章除注明转载/出处外,均为本站原创或翻译,转载前请务必署名
最后编辑时间为: Feb 26, 2016 at 12:07 pm